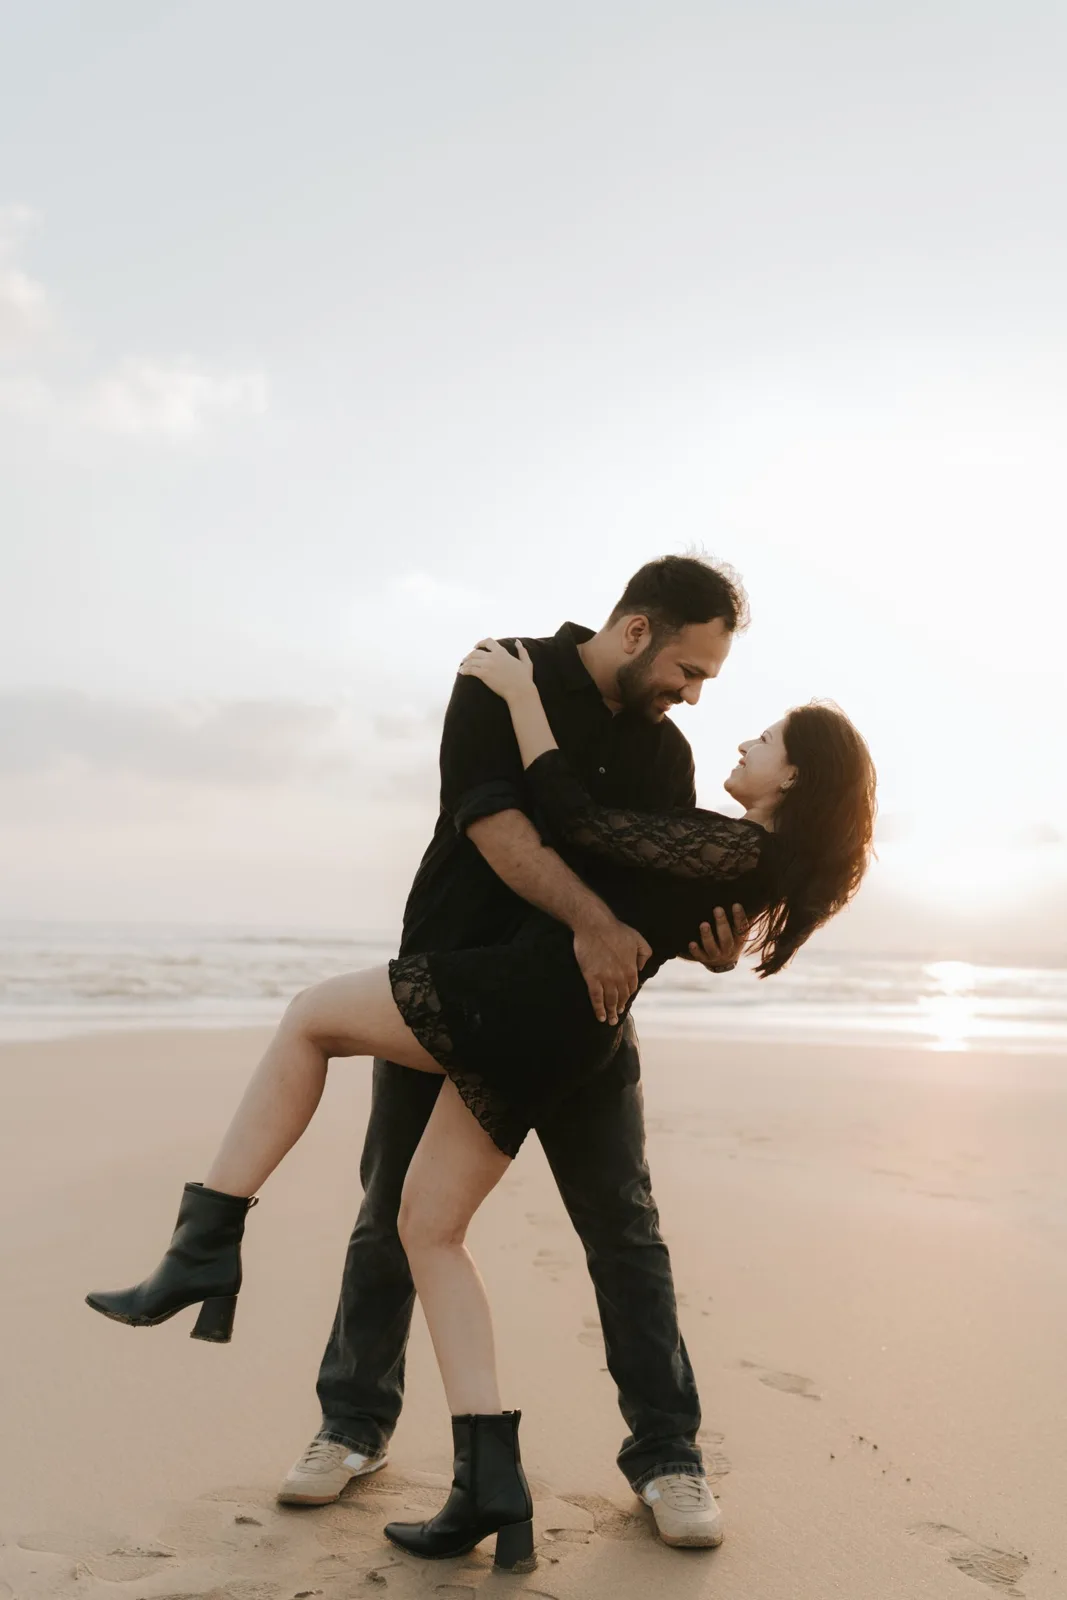
An outfit can look beautiful in a mirror and behave very differently during a photoshoot. Sleeves pull when you embrace, a hem needs constant adjustment, or two colours compete once both people stand together. An outfit trial helps you notice those details before the session. It does not need professional equipment or a polished mini-shoot. Use a phone, ordinary light and a few movements similar to the ones you expect to make. The aim is to choose clothing you can enjoy wearing, not to rehearse every photograph.
Planning a session? Explore our pre wedding photography service alongside this guide.
Try the complete outfit
Include the shoes, layers and accessories you actually plan to wear. Testing only a shirt or dress misses problems created by the full combination. Check whether an accessory catches on clothing or whether footwear changes how comfortably you stand. If you will wear a long hem, practise walking and sitting in it. Keep the trial practical. You are checking how the outfit works on your body and beside your partner, rather than judging whether it looks like a model’s outfit from a reference.
Photograph both people together
A solo mirror picture does not reveal how the pair will look in one frame. Stand together against a plain background and make a few simple pictures. Notice whether one person’s pattern draws all the attention or whether accessories obscure faces when you stand close. Coordinated clothing does not require identical colours. Look for a combination that allows both people to remain visually clear. If one outfit is especially detailed, the other can be quieter without looking unfinished or less important.
Test the movements you might use
Walk together, turn towards one another, sit on a stable chair and try an ordinary embrace. Check how the clothing settles afterwards. A fitted sleeve may look fine until an arm is lifted; a scarf may cover a face whenever the person turns. Adjust the outfit rather than planning to fix every problem in editing. Tell the photographer about any movement you want to avoid. Comfortable actions give the session a wider range of expressions without constantly interrupting to reset clothing.
Look at a close portrait and a wider frame
Accessories and patterns read differently at different distances. A large necklace may suit a wider photograph but feel visually busy beside a close face. A small print can appear as texture from farther away. Make both kinds of picture during the trial and review them at ordinary phone size. Do not zoom in solely to find imperfections. Ask whether the people, expressions and outfit shapes remain easy to read. That is more useful than expecting every fabric detail to look identical at every crop.
Check the clothing in usable light
Stand near a window or in a shaded outdoor place so you can see the colours without relying entirely on strong overhead room lighting. The phone is not a promise of the photographer’s final colour, but it can reveal obvious clashes or transparency that surprises you. If the shoot has a specific lighting concept, share the trial photographs with the photographer. Explain which combination you prefer and what concerns you. The team can advise in relation to the actual brief rather than a guess based on an outfit description.
Practise one change if you plan several looks
Time the practical process without rushing: changing, fastening accessories, arranging hair and packing the first outfit safely. A complicated change can use much more of the session than expected. Decide whether the second look creates enough visual difference to justify that effort. You may get more variety by changing a layer or accessory. Confirm where changing is permitted and private. The trial should help you build a realistic sequence rather than assume an outdoor setting will provide a convenient changing space.
An illustrative two-look decision
Imagine one couple chooses a flowing outfit and a tailored jacket for the main look. During the trial, the jacket feels restrictive in a close embrace and the long hem is difficult on uneven ground. They adjust the jacket styling and choose comfortable footwear that works with the hem. Their second look becomes a simple layer change instead of a complete new outfit. This is an illustrative example, not a client story. It shows how a trial can preserve the intended style while making the session easier to use.
Pack the solutions, not a second wardrobe
After the trial, list the small items you actually needed: an appropriate fastening, a spare layer or a simple way to carry the outfit. Avoid packing every possible accessory. Too many choices can make the session feel like another fitting appointment. Keep personal items secure and arrange who will carry bags while you are photographed. The photographer’s role is to make pictures, so discuss practical assistance separately. A small organised bag is usually easier to manage than several loose outfit pieces.
Share the result before the shoot
Send the selected combination with a brief note about movement, changing and the look you want. Ask whether it suits the planned setting. The photographer can use the information to shape the sequence and identify any issue before the day. Do not treat the trial as a request for a critique of your appearance. It is a tool for making the clothing work comfortably in photographs.
Use the pre-wedding photography service page to discuss your outfit plan alongside the session’s concept. Keep the trial photographs for reference, then stop testing. The useful result is a small set of clothing decisions that lets both people focus on being together during the actual shoot.
Discuss your photography brief
Share your intended use and priorities through our pre wedding photography service page. Fine Art Photography is based in Diu; travel assignments, coverage, editing and delivery are confirmed individually. Bring the decisions from this guide to the conversation so the proposed session can reflect what you need.
Discuss your photography brief