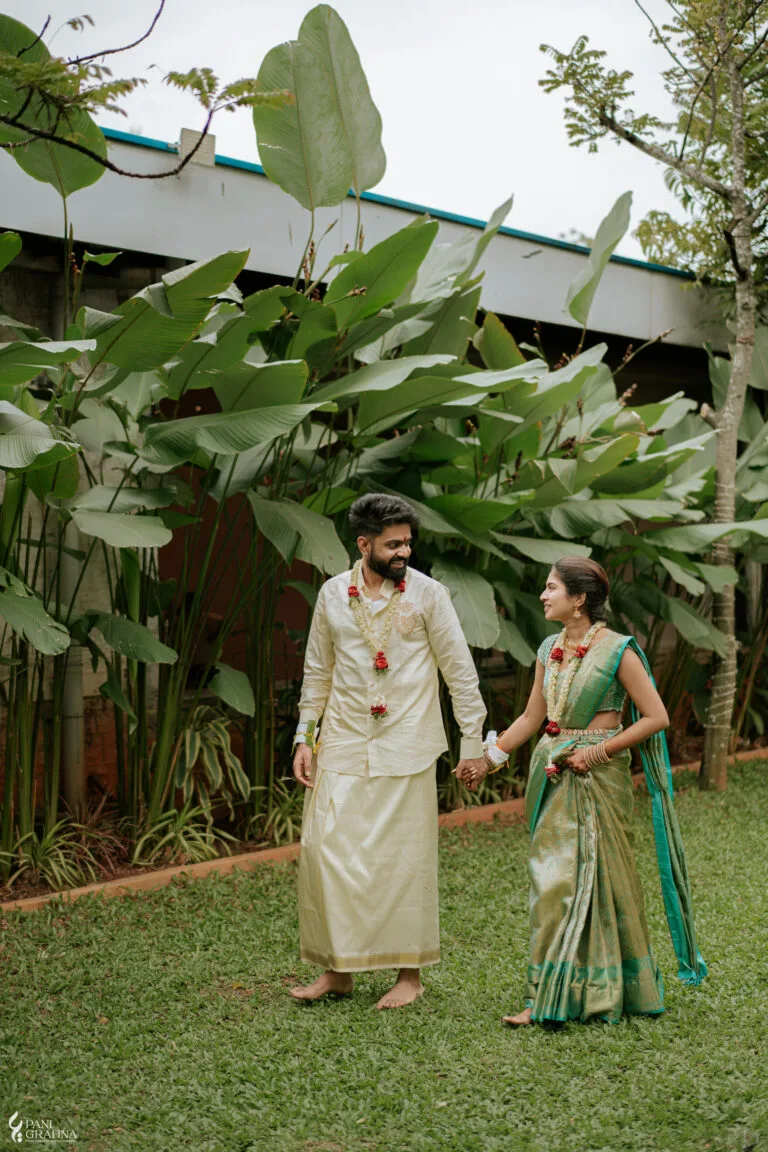
A mood board is useful when it explains choices. Ten photographs labelled with what you like can communicate more than a hundred saved images without comments. Turn inspiration into decisions about mood, clothing, framing and practical access before the session begins.
Collect broadly, then edit
Save references that interest you without immediately treating them as requirements. Once you have a collection, remove near-duplicates and images that belong to a different concept. The edited board should show a direction, not the entire history of what you happened to notice online.
Label the reason for each image
Write whether you like the light, expression, colour, clothing or composition. This prevents the team from interpreting a reference as a request for its exact location or pose. One image can be useful for a small detail even when the rest of its styling does not suit you.
Separate essentials from experiments
Choose a few elements that define the session and mark other ideas as optional. If everything is essential, the board cannot guide decisions when time or access changes. An optional dramatic portrait should not consume the window needed for the main couple sequence.
Check feasibility with the photographer
Ask what each idea needs in terms of space, light, equipment and coordination. Some effects may be possible in a simpler form. Discuss the actual conditions rather than assuming an image can be recreated merely because it was made somewhere by another team.
Put clothing beside the references
Photograph the planned outfits and consider whether their colours and shapes support the board. This can reveal a mismatch before the session. A flowing outdoor concept and a restrictive outfit may both look attractive separately while working poorly together in practice.
Convert the board into a short sequence
Arrange the concepts in an order that fits the light and changing access. Include the actions, essential frames and approximate transition windows. Keep room for the photographer to respond to what is present instead of directing every camera position from the board.
Retain one agreed version
Share the final board with comments and remove superseded instructions. Keep changes in one place so the team is not comparing multiple chat attachments. A clear final brief is easier to use onsite than a folder whose purpose has changed several times.
A worked planning example
ILLUSTRATIVE EXAMPLE · NOT A CLIENT CASE STUDY
A board mixes bright casual portraits, dark editorial scenes and elaborate costume photographs. Choose the strongest shared direction first, then keep one contrasting sequence as optional. This gives the photographer a clear starting point without requiring every visual style to happen in one short session.
A board can describe what you do not want as well as what you enjoy. Add a brief note if you prefer restrained editing, fewer props or less public performance. Keep those notes specific and constructive. The photographer needs enough direction to understand the brief, with freedom to respond to the actual setting. If a reference depends on equipment or styling outside the agreed scope, decide whether its main quality can be interpreted more simply. This turns inspiration into a useful conversation rather than a demand to reproduce somebody else's result without the same preparation or conditions.
If you want a simpler plan
For a concise board, choose references for the main mood, clothing and framing, then label the particular element you value. Remove images that repeat those decisions. Add actual outfit photographs and a practical view of the setting. Ask the photographer to confirm the central sequence and mark experiments separately. This version should remain easy to use onsite, with enough clarity to guide preparation and enough flexibility for the team to respond when the actual light differs from the inspiration.
Try this before the session
Pick your strongest references and write one useful sentence beside each. Identify the particular light, gesture, colour or framing you like, then remove images whose role duplicates another reference. Put actual outfit photographs beside the board and check that they support the same direction. Mark the essential sequence and optional experiment. Send the edited version to the photographer for a feasibility discussion about access, preparation and light. Keep any agreed changes in that version, rather than allowing the final brief to become scattered across unrelated attachments and last-minute inspiration messages.
Keep the session comfortable for both people
Discuss the concept together before sending the final brief. One person may enjoy a more directed style while the other prefers quiet interaction, so name those preferences and choose a workable starting sequence. Agree who manages bags or outfit help if a companion is coming, leaving the photographer room to give clear directions. Check that the setting and actions support both people rather than only the mood board. A short pause or simpler gesture is a useful adjustment when something feels uncomfortable. Treat optional experiments as additions after the main photographs are covered. The final collection should give you images you recognise and want to use, even if the session produces a different version of the idea than the references first suggested.
Your practical checklist
- Edited references
- Written reasons
- Essential concept
- Optional experiments
- Feasibility discussion
- Outfit photos
- Agreed version
Questions worth asking
How many references should we send?
Choose enough to explain the direction without repeating it. A small labelled board is easier to interpret than a large unedited folder.
Can our photographs look exactly like the references?
Use references to communicate intent. The people, light and working conditions will make the final photographs their own images.
Put the guide into practice
Fine Art Photography is based opposite SBI Bank in Diu. Use the pre wedding photography service page to discuss the assignment itself, including availability, scope and delivery. Share the essential idea, intended use and practical access when you enquire. Travel assignments are confirmed individually. This guide is preparation advice; dates, coverage, editing requests and final deliverables should be agreed directly for your session.
Discuss your photography brief